CRM import data
CRM import data
This guide outlines how to import data into CRM. Including importing pictures and files, etc.
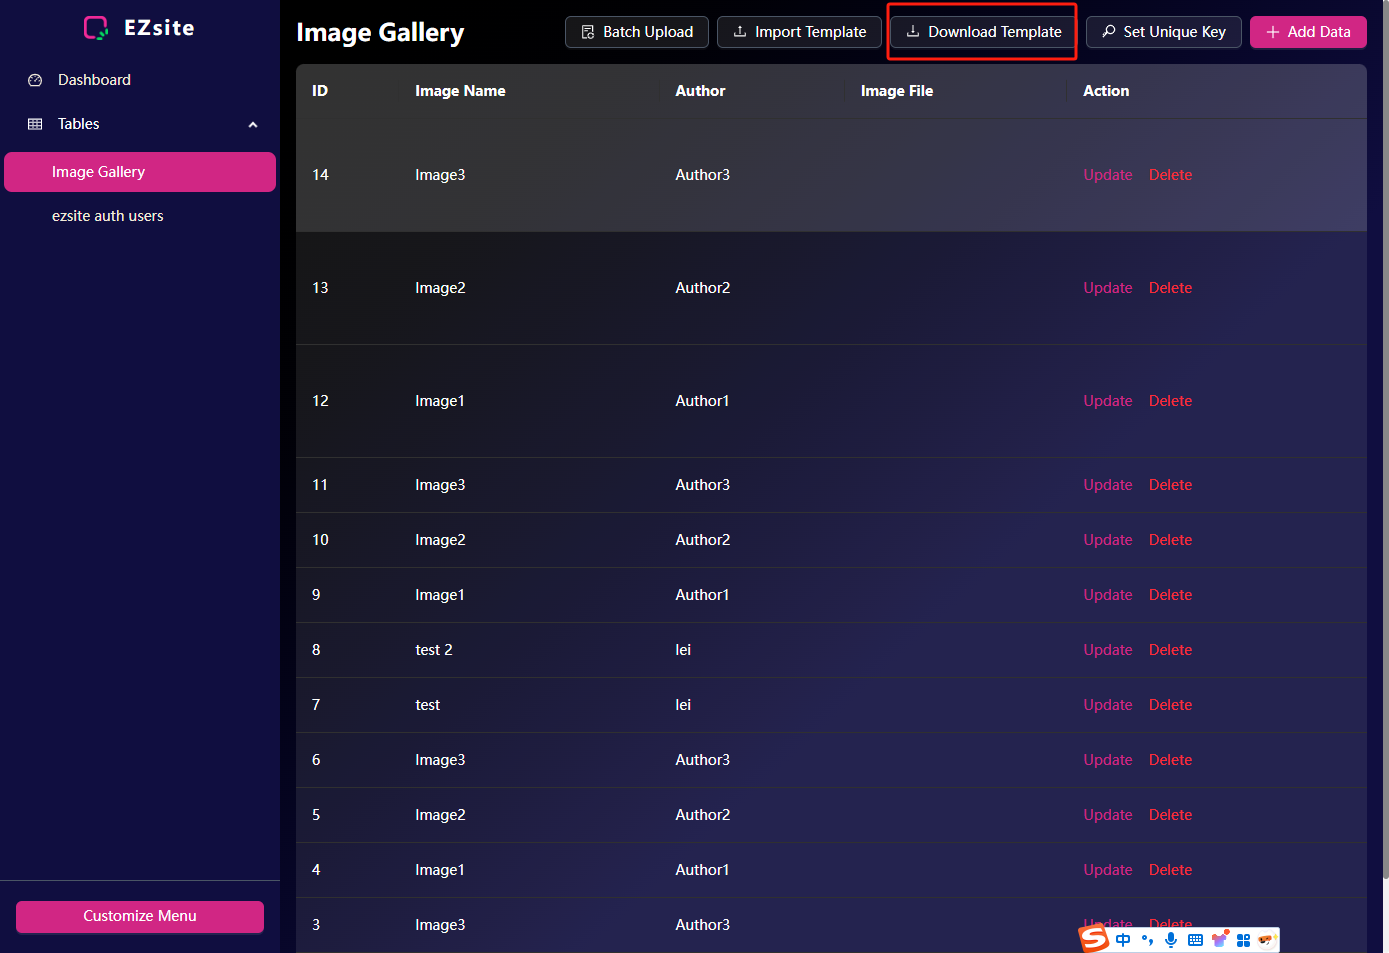
1. Generate template file and download.
Find the table you want to import data into, and click the "Download Template" button in the upper right corner to generate and download the template.
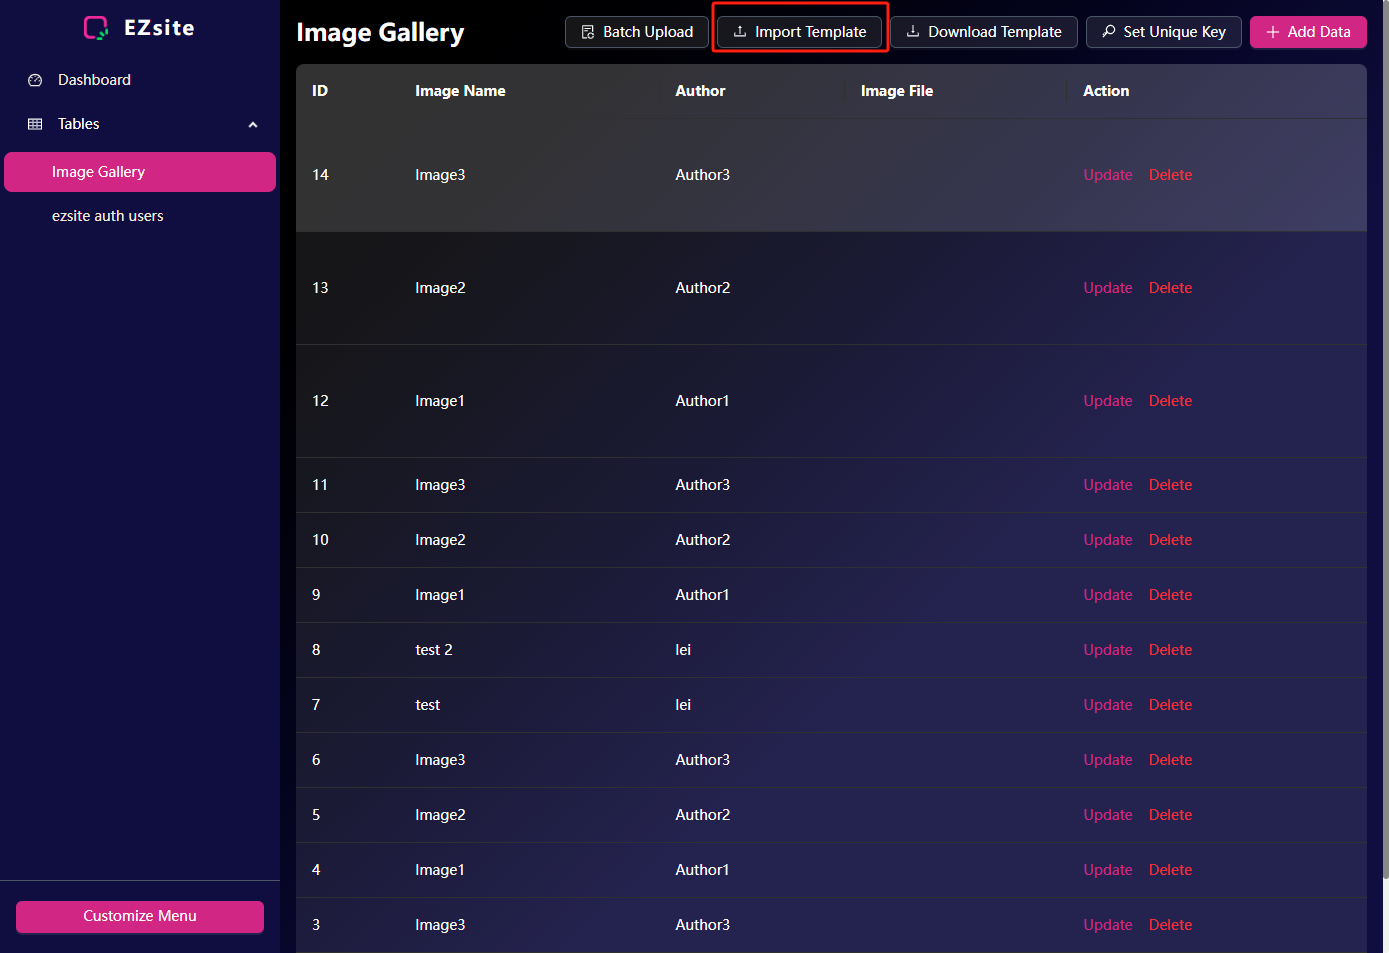
2. Fill in template data, upload and import into CRM.
Open the downloaded template, fill in the data into the table and save the file, then click the "Import Template" button in the upper right corner of EZsite to import the data.
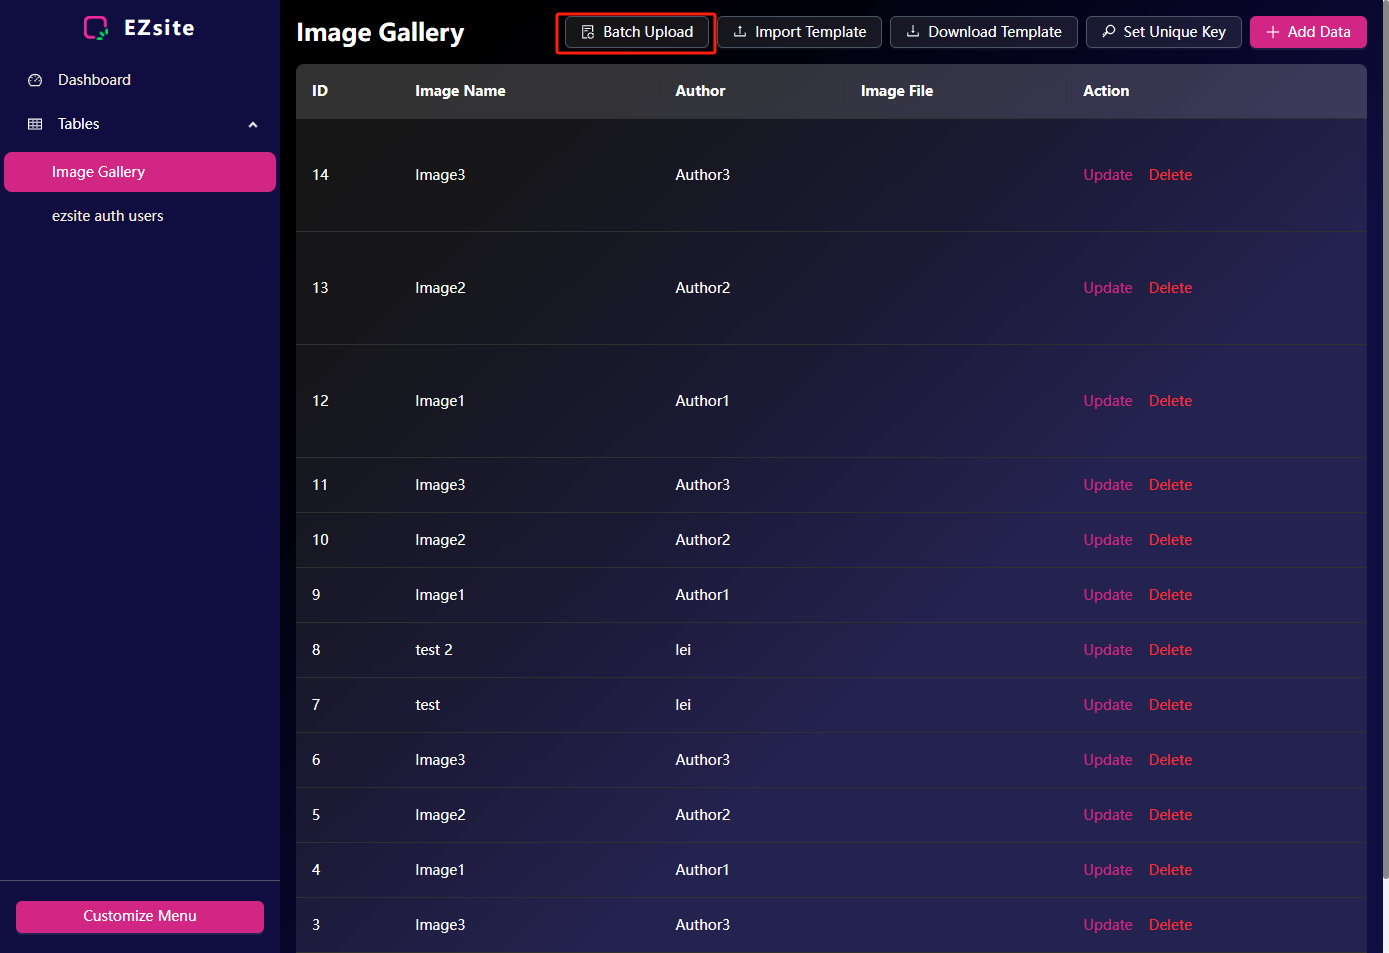
3. Batch upload images/files.
If you do not need to import image/file data in batches, you can skip this step. The imported file name must follow the following rules:
- The file name must be divided into three parts, separated by a hyphen.
- The first part of the file name is the field name in the CRM table. It is recommended to use ID.
- The second part of the file name is the value of the field in the CRM table, which is used to match the data in the table.
- The third part of the file name is the field name where the imported file is stored.
- Example: As shown in the figure, I want the uploaded image to be in the Image File field in the record with ID equal to 14, so my file name should be: ID-14-Image File.jpg