Stripe One-time Payment Using API Key
How to set up payments in your app using EZsite Stripe integration
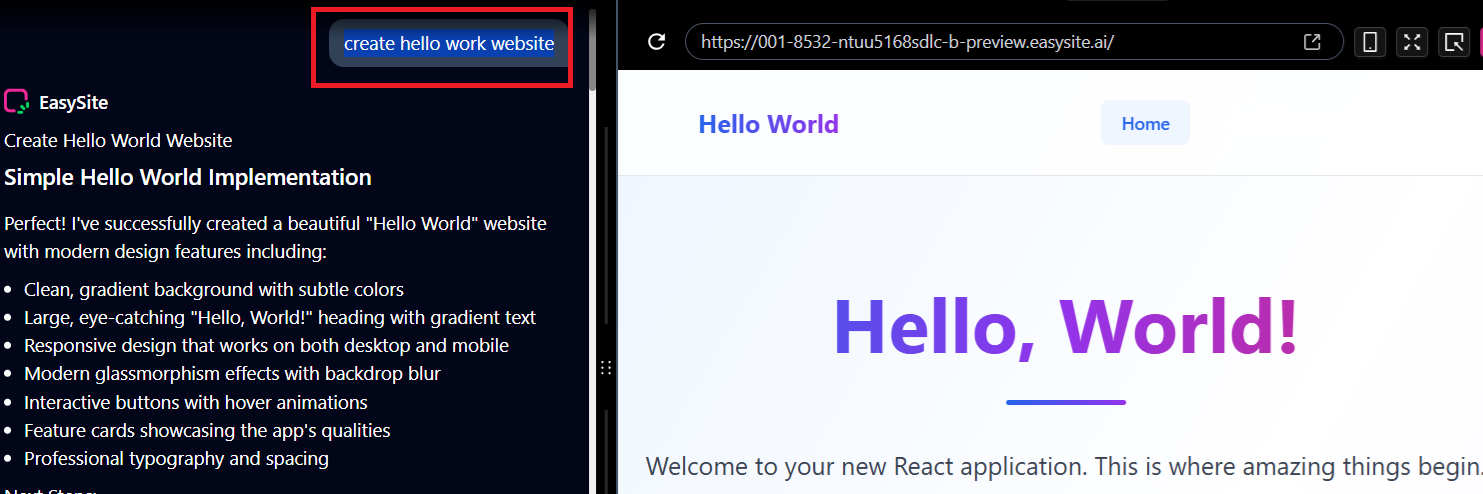
Step 1. Create Your Website
Already have a project? Great — you can skip this step and move on!
create hello work website
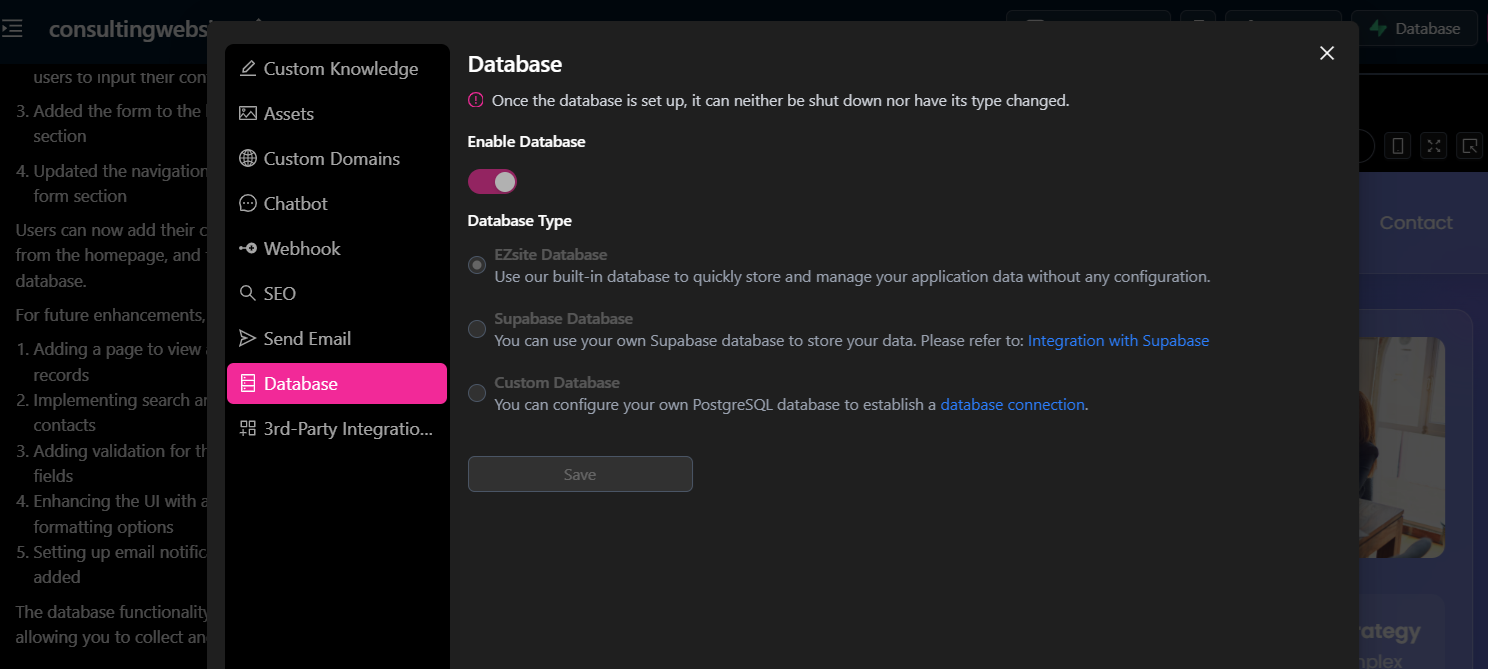
Step 2. Enable your database
Already enabled? Perfect — just skip this step and continue!
Step 3. Add Sign In & Sign Up
Already have registration and login pages? Awesome — just skip this step!
add signin signup
Step 4. Configured Stripe in EZsite
Enable Stripe in EZsite.
Already configured? Perfect — just skip this step and continue!
- Copy Your Stripe Secret Key
Log in to your Stripe account, locate your Secret Key, and click "Click to Copy".
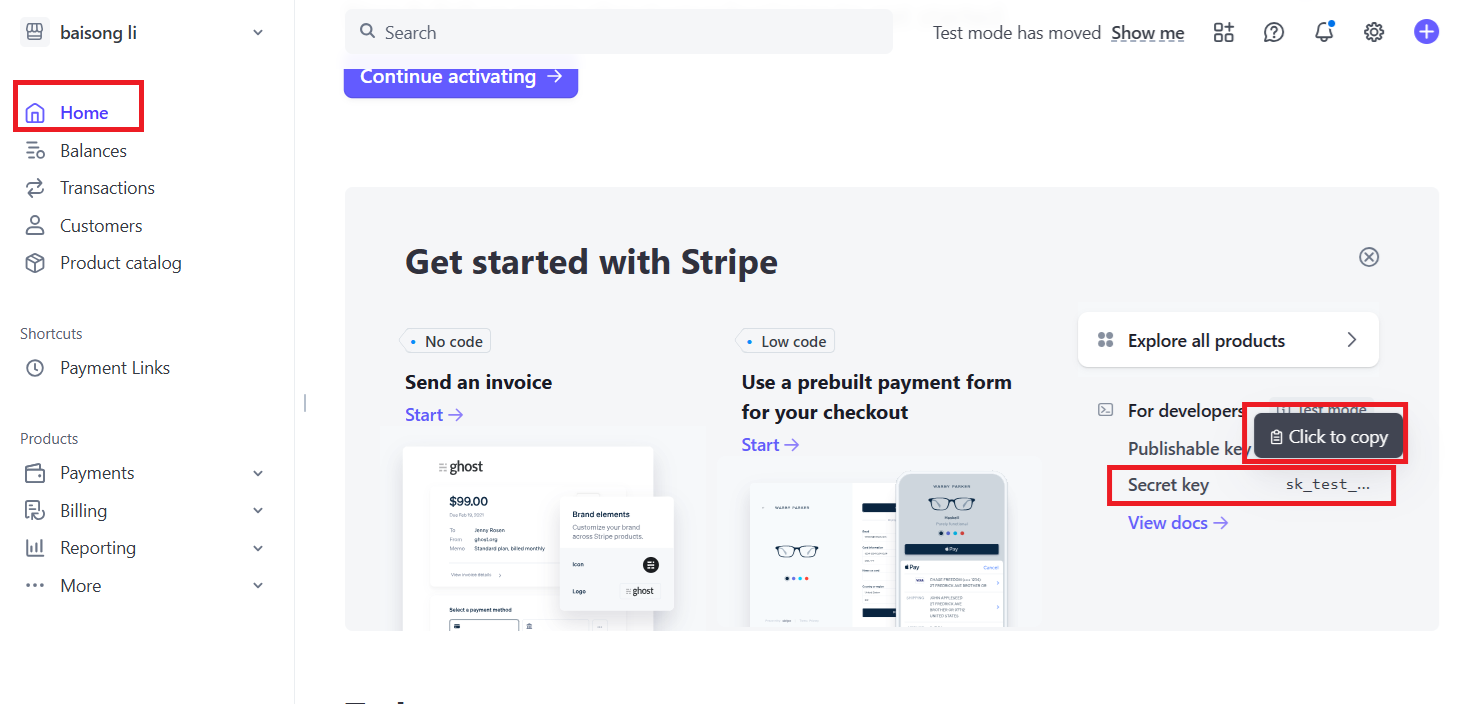
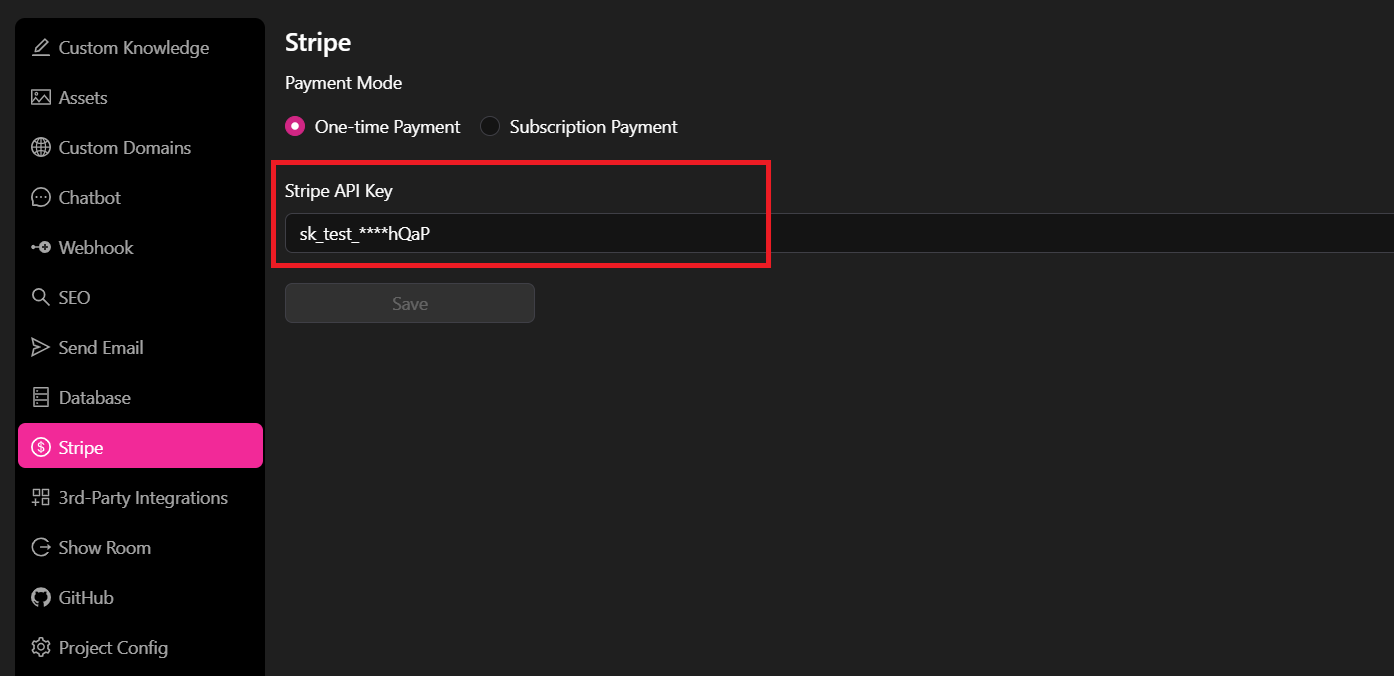
- Enter the Key in Settings
Go to Settings, select Stripe from the left menu, Choose "One-time Payment" Option, paste your Secret Key into the field, and click "Save".
Step 5. Create Product & Order Pages with Payment
All the preliminary setup is complete! You can now use the prompt below to implement the payment functionality.
There are two common purchase flows you can choose from:
Option A: Direct Purchase Flow
- Create a product list page with product links on the homepage.
- When a user clicks on a product, they are taken directly to the payment process.
- After payment, generate an order record.
- Build an Order List page to display all completed purchases.
Prompt Example:
Implement payment functionality.
1. Create a product list page with product links on the homepage.
2. Implement the payment process as a login-protected flow:
   - When a user clicks on a product, check if they are logged in.
   - If logged in, allow them to proceed with payment.
   - If not, redirect them to the login page first.
3. Build a login-protected order list page that displays all completed purchases.
Option B: Shopping Cart Flow Create a product list page with product links on the homepage.
- When a user clicks on a product, it is first added to the shopping cart.
- Implement a Shopping Cart page where users can review selected products.
- From the cart, users proceed to the payment process.
- Build an Order List page to display all completed purchases. Prompt Example:
Implement payment functionality. Create a product list page with product links on the homepage.
When a user clicks on a product, check if the user is logged in.
If logged in, add the product to the shopping cart.
If not, redirect them to the login page first.
Implement a shopping cart page (login required) where users can review selected products and then proceed to payment.
Build an order list page (login-protected) to display all completed purchases.
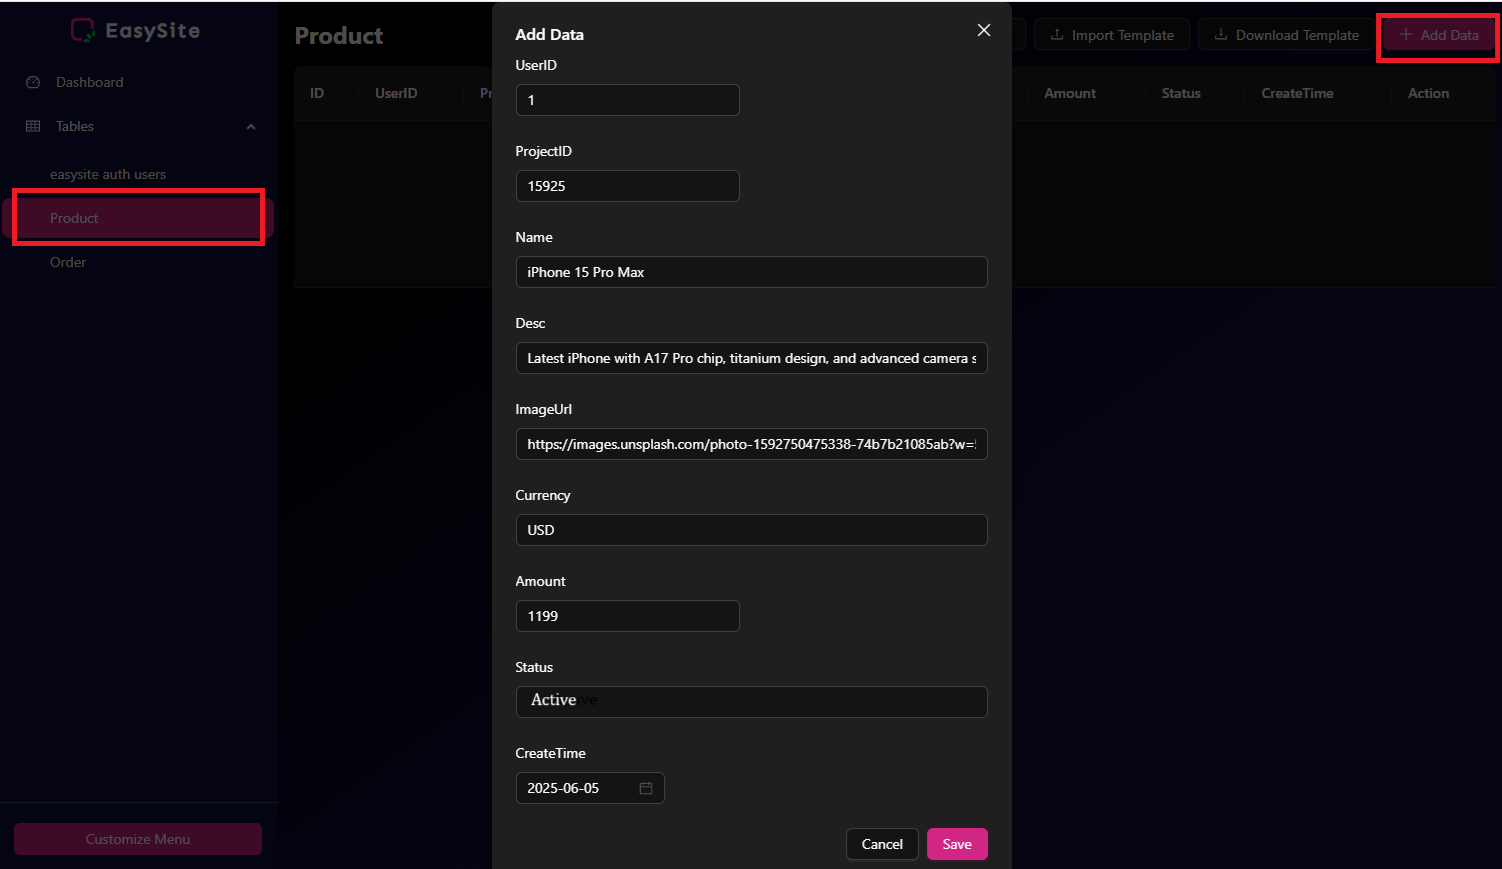
Step 6. Add Products in "Product" table from Project Admin
Add products so users can make purchases.
- Open the Project Detail page.
- Click the "Project Admin" button.
- Click the "Add Data" button.
- Enter the details for the new product and save it.
- Ensure that the "Status" field is set to "Active."
Step 7 Test Stripe Payment
The payment functionality has been implemented. Follow the steps below to verify that it works correctly.
- Step 1: Open your website in a new window by clicking the "New Open" button located next to the browser’s URL address bar. Navigate to the Product page, the sample product should be visible.
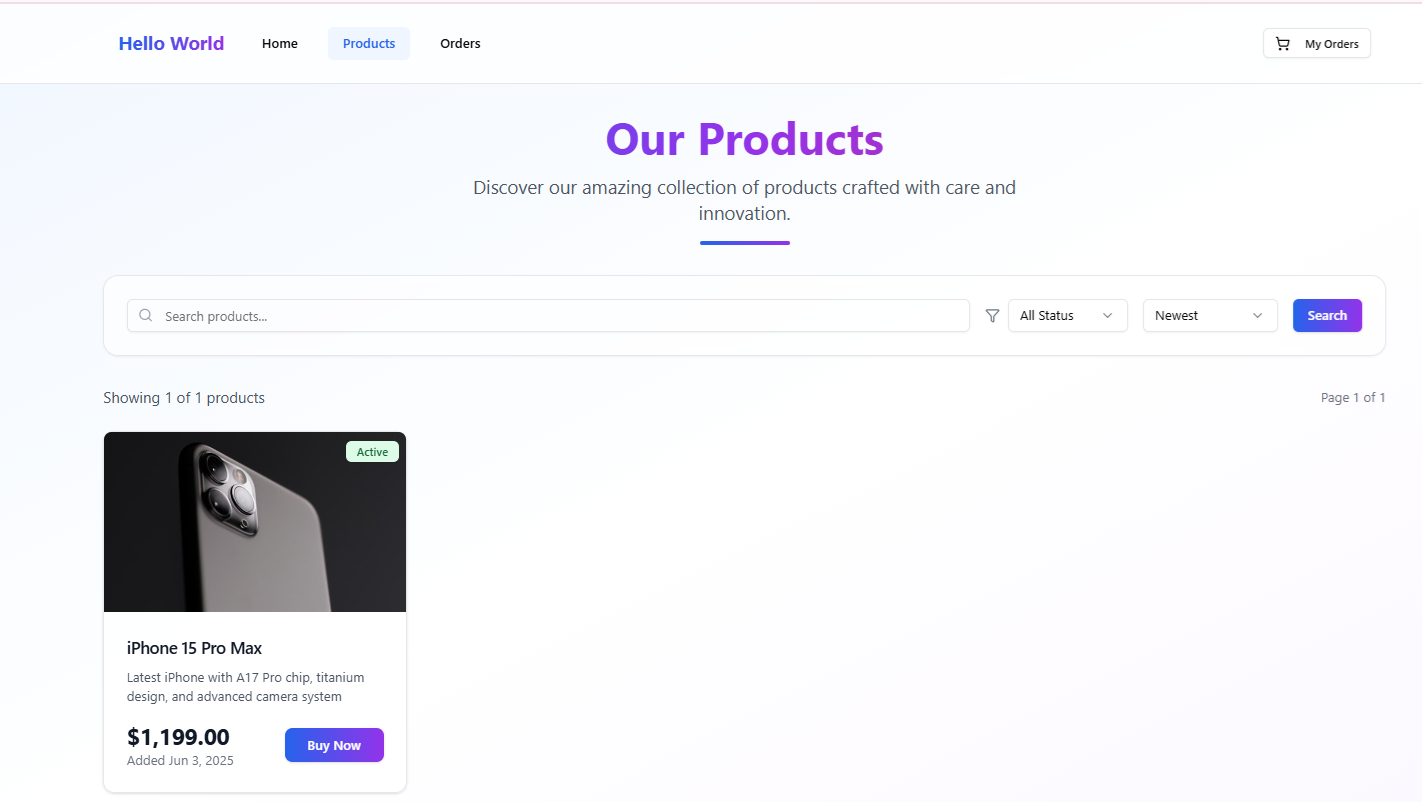
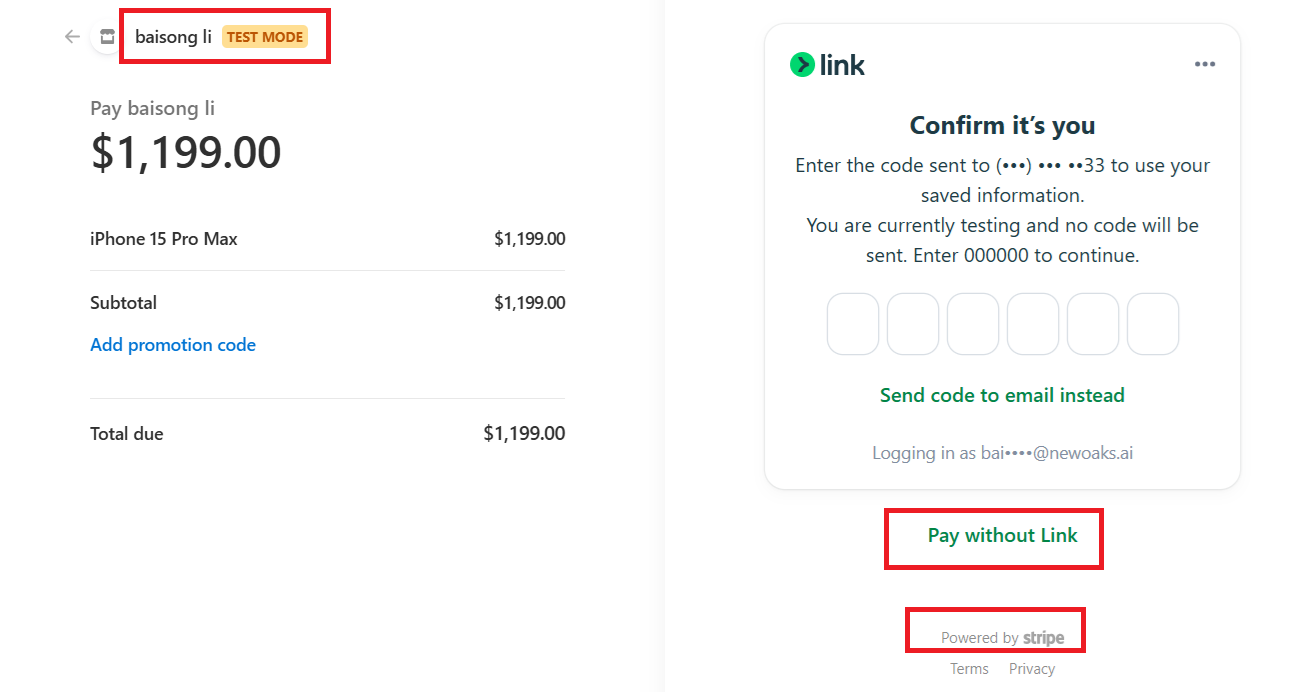
- Step 2: Click the "Buy Now" button to be redirected to the Stripe checkout page, choose "Pay without Link"
-
Step 3: In the next page, Enter the test payment card details as shown below. (You can find test card information in integration-stripe)
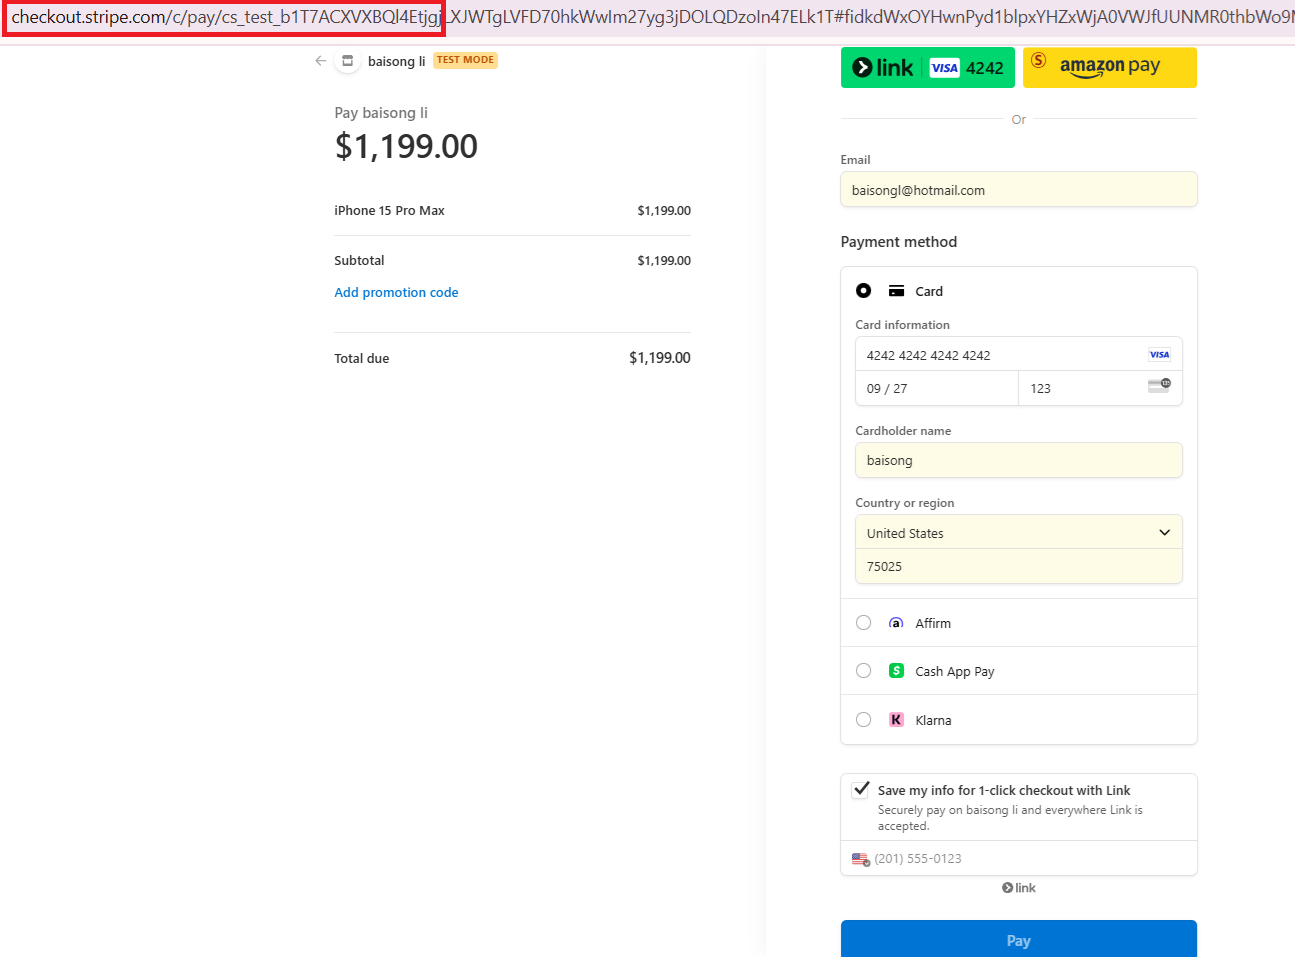
-
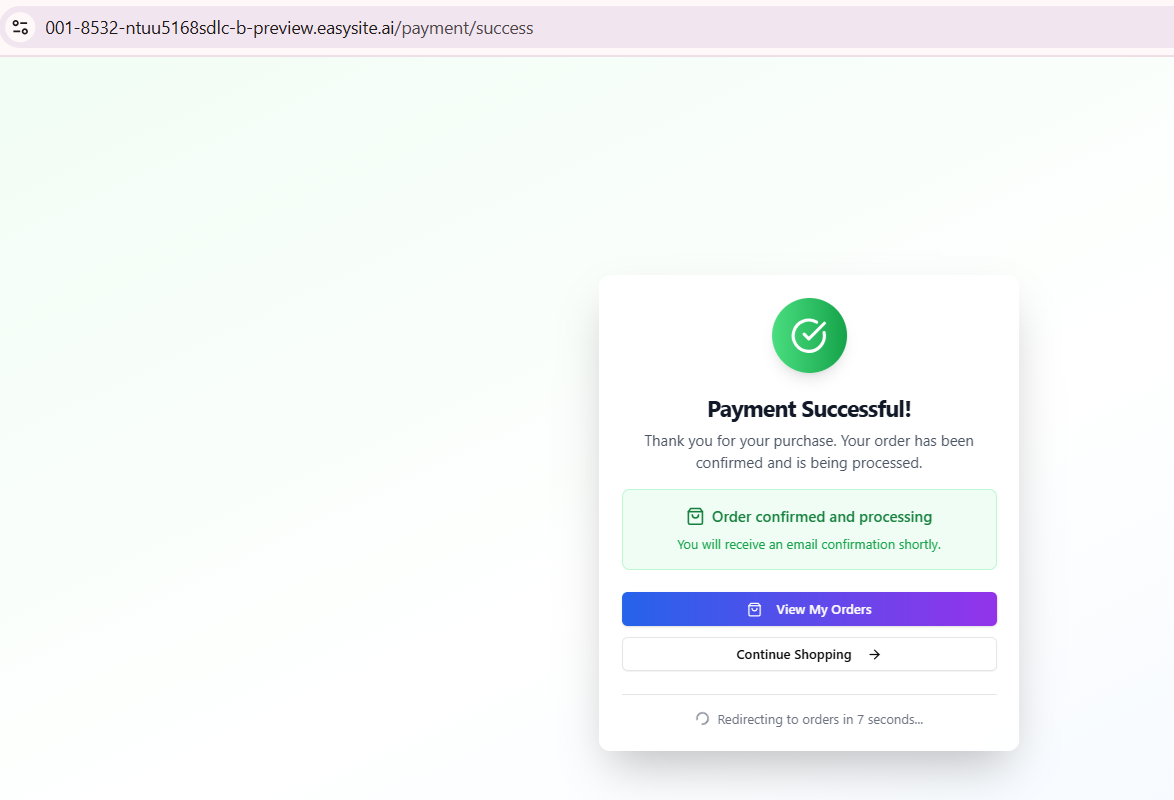
Step 4: After clicking the "Pay" button, a payment successful message is displayed.